
A lot of the information you enter into your Google Sheets tables may be repetitious, such as tracking whether or not an influencer you've approached for a relationship has agreed to work with you.
As time passes, it might get boring to go in and input each yes or no, which is when a vital tool, the drop-down list, becomes your greatest friend.
In this post, we'll show you how to save time by adding a drop-down list to your own Google Sheets data set.
How to Add a Drop-down List in Google Sheets
As previously said, a drop-down list can assist you in quickly changing parts of a cell when the material is repetitious.
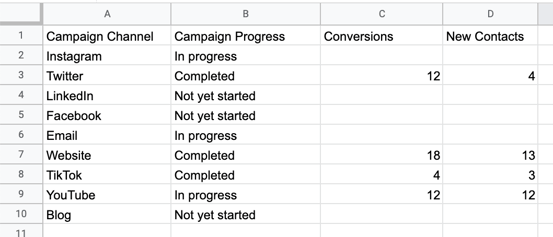
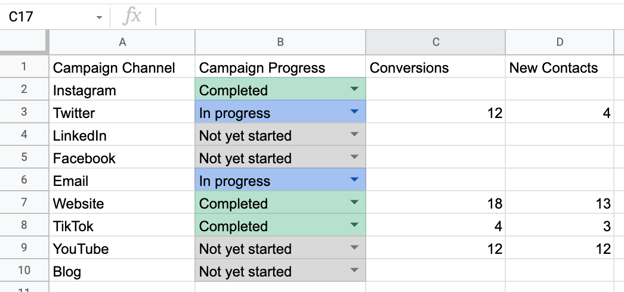
The example data set for this walkthrough (shown below) is tracking the progress of marketing campaigns across various channels and the state they're at: not yet started, in progress, or completed. I'd like to construct a drop-down menu so that I can simply update the state of the campaign as time passes.
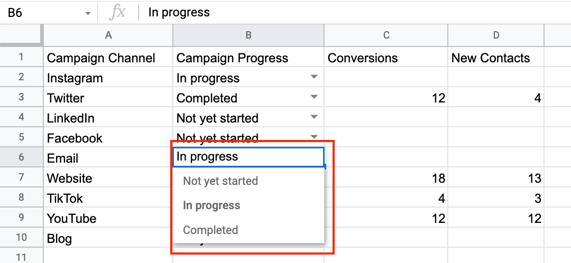
Before proceeding with the instructions, it may be useful to examine how a drop-down menu looks so that you can contextually grasp each instruction. The animation below depicts the completed drop-down menu and its application to the example data set.
Let's look at how to include a drop-down list in your Sheet.
1. Click Data in the toolbar's header.
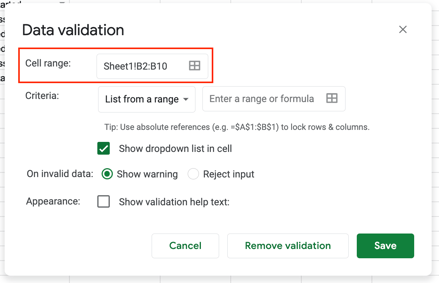
2. Select Data validation from the drop-down menu, as indicated in the figure below.

3. In the Data validation dialog box, enter the cell range for which you want a drop-down selection to appear in the Cell range. For this example, I'm going to input B2:B10 for cells 2-10 in column B.
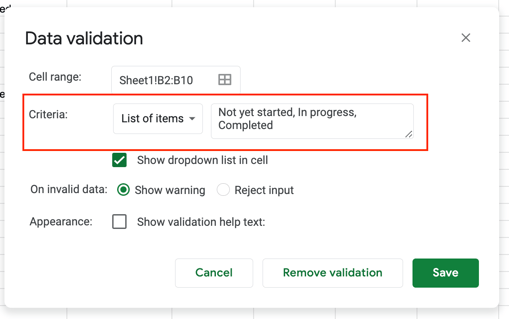
4. The following step is to input the data range that you wish to see in the drop-down menu. Choose a List of items and enter your menu values. For this example, I would enter Not yet started, In Progress, and Complete.
After you've finished entering your values, click Save.
5. As illustrated in the figure below, each of your cells should now have a clickable down arrow.
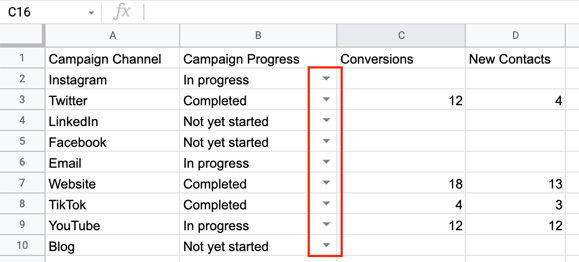
In the sample table, I may modify the status of my campaigns by clicking on each down arrow.
How to Edit a Drop-down List in Google Sheets
If you need to make modifications to your drop-down menu, the procedure is straightforward.
1. In the toolbar header, choose Data, followed by Data validation.
2. Simply enter the modifications you wish to make in the Data Validation dialogue box. As an example,
If you wish to edit the options in your drop-down menu, go to Criteria and make the adjustments you want.
Modify the cell numbers in the Cell range to change the column in which the drop-down menu is located.
If you want to remove your drop-down menu entirely, pick the column in which it is now located and click Remove validation.
After making any changes, always click the Save button.
Color Code a Drop-down List in Google Sheets
When it comes to evaluating data at a glance, color coding comes in handy. You can achieve this with your drop-down list by using conditional formatting rules, which we'll go over in more detail below.
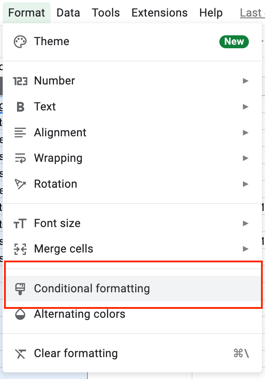
1. Select the cells in which your drop-down menu is located and click Format.
2. In the dialogue box, select Conditional formatting, as shown in the figure below.
3. Navigate to the Format rules section in the Conditional formatting rules sidebar on the right-hand side of your screen.
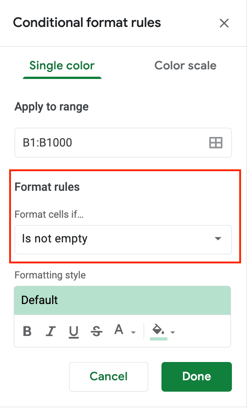
4. In the Format cells if menu, select Text contains…
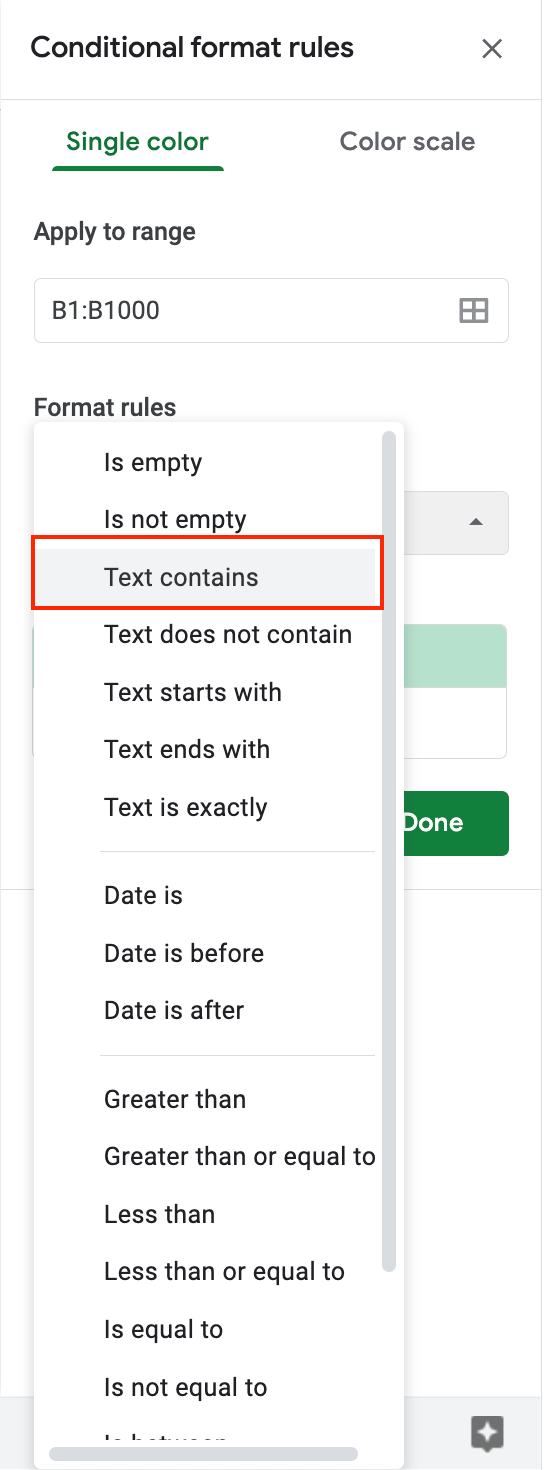
5. Enter the first element in your drop-down list that you want color-coded. In the image below, I've entered Completed

6. To assign a color to each item in your list, choose + Add another rule and repeat step 5 for each value. In progress is marked to blue in my chart, and Not started is set to gray.
7. After you've specified each of your rules, altering the value of the drop-down menu item will automatically update it to the relevant color. For instance, if I change Not yet started to In process, the color changes from gray to blue.
You may continue to follow the development of your various marketing initiatives and save time once you've constructed your drop-down menu and color-coded it for simple interpretation.


0 Comments